Multi-Tenancy in Spring Boot: A Practical Guide
Introduction
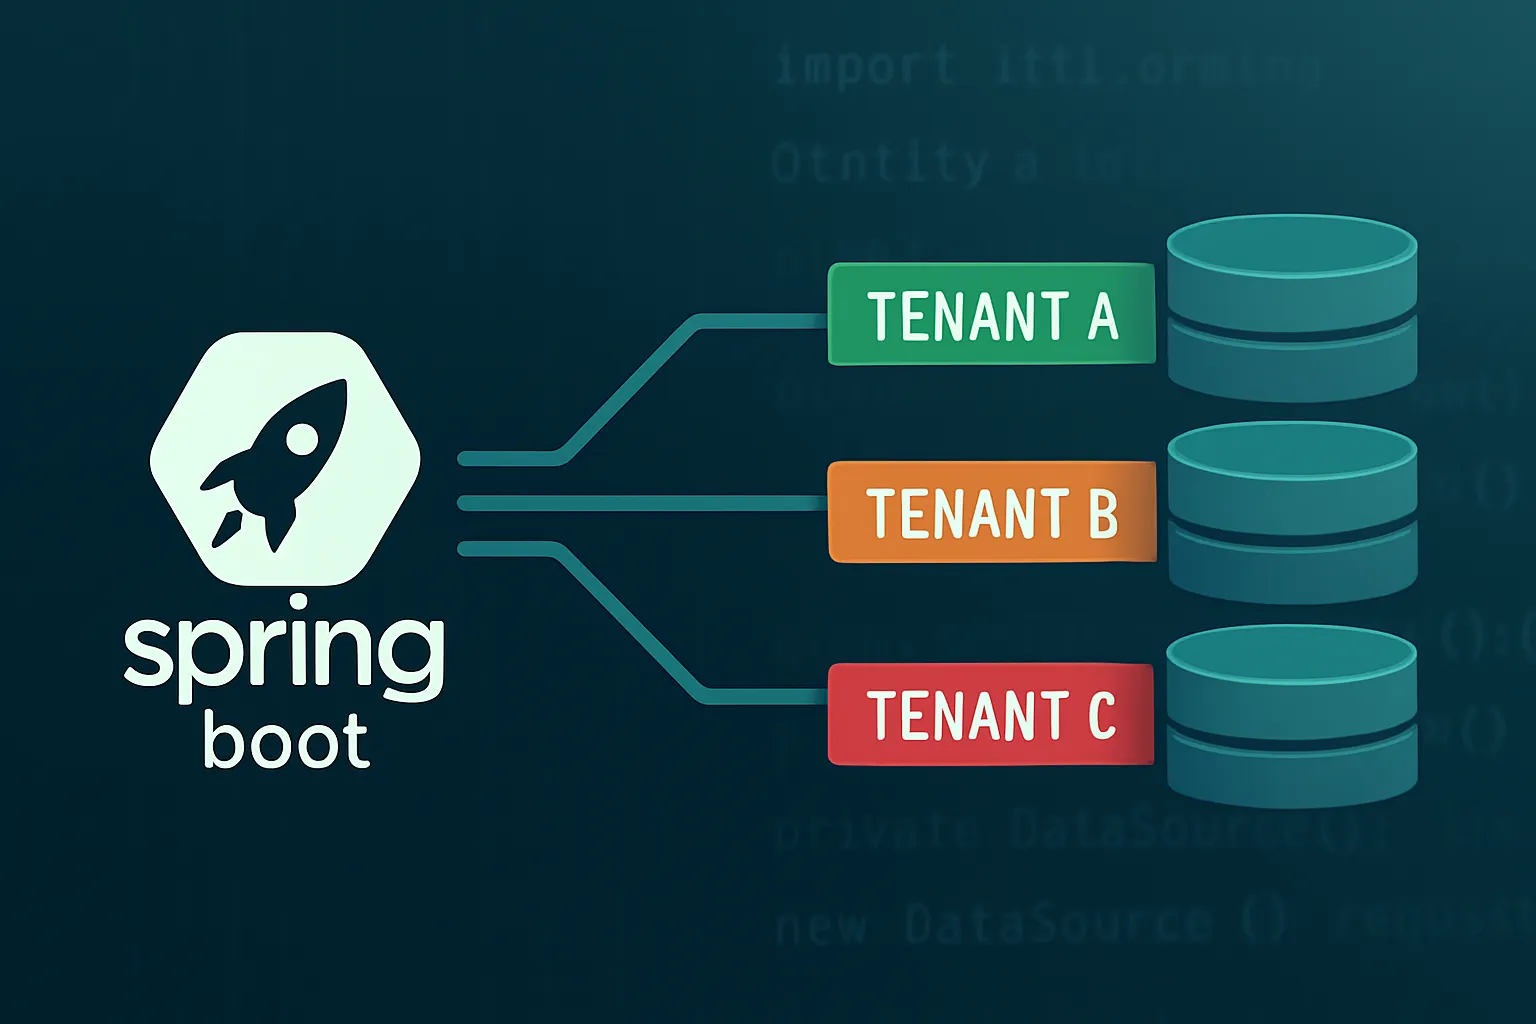
When we built our SaaS platform, we started out with the classic approach to multi-tenancy — a shared database which contained all the data, separated by tenant_id as a discriminator column. It was easy to set up, efficient to maintain and served our purpose just right.
But as the platform grew, we started seeing pain points. Some users wanted a BI tool like Metabase connected to their own data. Some wanted their data physically isolated, which meant a separate database server for them. That’s when we had to rethink our architecture.
In this article, I’ll share how we moved from a basic shared-database setup to full physical isolation for each tenant — and how we made sure the system stayed flexible and easy to work with. Here’s what you can expect:
- How we went from one database for everyone to a separate database for each tenant
- How we still support shared databases for some tenants without adding complexity
- Some of the weird edge cases we ran into (and how we fixed them)
- How we set things up so new tenants can be added with minimal effort
Approaches to Multi-Tenancy
Broadly speaking, there are three approaches to multi-tenancy:
- Shared database, shared schema: This is the simplest approach. All tenant data lives in the same database, and they are separated by a
tenant_idcolumn as the discriminator. - Shared database, separate schema: This offers a higher degree of separation. Each tenant gets their own schema and tables, but they reside in the same physical database server underneath.
- Separate database, separate schema: True multi-tenancy. Each tenant gets their own database server, physically isolated from the rest of the data.
If you’ve been following along, you will probably have guessed that we started with the first approach and ended up with the third. Let’s take a look at how we implemented it.
Building a Tenant-Aware Data Source
In Spring Boot, all data persistence operations are handled through Spring JPA using repository classes. These repositories interact with a DataSource object which manages database operations, maintains connection pools and enforces timeouts as necessary.
Usually, we define the data source properties in our application.properties file like this:
spring.datasource.url=jdbc:postgresql://localhost:5432/my_database
spring.datasource.username=username
spring.datasource.password=supersecretpassword
This data source definition will create a single data source per application. In order to have a tenant-aware DataSource which connects to multiple databases, we use AbstractRoutingDataSource provided by Spring Boot.
This class is an abstract DataSource implementation that routes connections to one of multiple target data sources, based on a lookup key which, in our case, is tenantId. Since it is an abstract class, the core implementation details are already defined; we just have to specify how it should resolve our tenant ID. In order to do this, we override the determineCurrentLookupKey function with our own implementation.
AbstractRoutingDataSource routingDataSource = new AbstractRoutingDataSource() {
      @Override
      protected Object determineCurrentLookupKey() {
          return TenantContext.getTenantId();
      }
};
Now that we have our data source in place, we are faced with two obvious questions:
- How do we determine the tenant ID in real-time?
- How do we wire multiple databases into this routing data source?
Tenant Resolution and Propagation
The first of these two questions has a rather simple answer.
In our original implementation, we were already using tenantId as a discriminator - incoming API requests contain the tenant ID as a header, and during our authentication flow it is set in a ThreadLocal<String> which resides in a class we call @Context. The authentication procedure is wrapped up in an annotation we call @Authenticate — and it looks something like this.
@Aspect
@Component
@Configuration
@RequiredArgsConstructor
public class AuthenticateAspect {
    @Around("@annotation(org.trips.service_framework.aop.Authenticate)")
    public Object validateAuthHeader(ProceedingJoinPoint joinPoint) throws Throwable {
        HttpServletRequest request = HttpUtils.getRequest();
        String tenantId = HttpUtils.readMandatoryHeader(request, TENANT_ID_HEADER);
        // NOTE: Details omitted - we do our authentication related stuff here

        Context.setTenantId(tenantId);
        Object response = joinPoint.proceed();
        Context.clean();
        return response;
    }
}
With this annotation in our arsenal, all that remains to be done is to retrieve the tenant ID from Context and use it in determineCurrentLookupKey as mentioned in the previous section.
Configuring Data Sources
In Spring Boot, we typically specify our database configuration in the application.properties file using variables like spring.datasource.url and so on.
This works perfectly for a single data source, but it turns ugly real fast when specifying multiple databases. For example, a sample configuration for two databases would look something like this.
spring.datasource.primary.url=jdbc:postgresql://localhost:5432/my_database
spring.datasource.primary.username=username
spring.datasource.primary.password=supersecretpassword
spring.datasource.secondary.url=jdbc:postgresql://localhost:5432/my_database_2
spring.datasource.secondary.username=someotherusername
spring.datasource.secondary.password=superultrasecretpassword
Looks pretty janky, right? That’s what we thought. Moreover there is a key limitation here — this plain vanilla datasource definition does not offer us a intuitive way to map databases to tenants. So when our configuration started getting more complex, we did what most developers do: we reached for YAML.
Instead of cluttering the properties file with multiple tenant database configurations (which would only grow with time), we gave them a well-deserved home of their own in databases.yml. The YAML structure lends itself surprisingly well to hierarchical data with nested lists - which is exactly the use case we had here. The same database configuration in our databases.yml looks like this.
data-sources:
  - url: jdbc:postgresql://localhost:5432/my_database
    username: username
    password: supersecretpassword
    minimum-idle: 2
    maximum-pool-size: 5
    tenants:
      - tenant_1
  - url: jdbc:postgresql://localhost:5432/my_database_2
    username: someusername
    password: superultrasecretpassword
    minimum-idle: 2
    maximum-pool-size: 5
    tenants:
      - tenant_2
Notice that we have added a convenient tenants key to the data source definition. With this little trick, we can link a tenant to its own database or even have several tenants share a database — more on that in the next section.
In order to make Spring recognise this file, we add a single line to our application.properties file:
spring.config.import=classpath:databases-${spring.profiles.active}.ymlThis line ensures that when your Spring Boot application is run using a profile, such as prod, Spring automatically picks up databases-prod.yml and uses it as configuration.
Initializing Our Datasources
Now that we have our configuration sorted out, it’s time to use it in Java. We subclass the DataSourceProperties class that Spring Boot uses internally to configure data sources and add our custom modifications to it.
@Data
public class TenantAwareDataSourceProperties extends DataSourceProperties {
    private List<String> tenants;
    private Integer minimumIdle;
    private Integer maximumPoolSize;
}
Next, we create a @ConfigurationProperties bean to pick up the configuration details from our YAML file.
@Component
@ConfigurationProperties
@Data
public class DataSourcePropertiesConfig {
    private List<TenantAwareDataSourceProperties> dataSources;
}
Note that you don’t need to specify which file Spring needs to pick this up from — the @ConfigurationProperties annotation automagically ensures that the data-sources key in our YAML maps to dataSources in your config bean.
Once you have these classes in place, initializing data sources is as simple as looping over dataSources and doing this for each element in the list:
HikariDataSource dataSource = dataSourceProperties.initializeDataSourceBuilder().type(HikariDataSource.class).build();
dataSource.setMinimumIdle(props.getMinimumIdle());
dataSource.setMaximumPoolSize(props.getMaximumPoolSize());
Putting It All Together: Code Walkthrough
Up until now, we have implemented the core features for our multi-tenant app. The components at our disposal include:
- A skeleton implementation of the
AbstractRoutingDataSourcewe are going to use - The mechanism to store and propagate our tenant identifier throughout the app
- A new configuration format to store our database configs
- A Spring bean that parses the above configuration from the specified file
Now, let’s put it all together and build the system that powers multi-tenancy across our application.
We will define a class called RoutingDataSource which holds the business logic of creating a tenant-aware data source, creating the individual data sources, and mapping them to their specified tenants.
@Slf4j
public class RoutingDataSource {
    private AbstractRoutingDataSource getAbstractRoutingDataSource(List<TenantAwareDataSourceProperties> propertiesList) {
        // 1. Defining our database router
        AbstractRoutingDataSource routingDataSource = new AbstractRoutingDataSource() {
            @Override
            protected Object determineCurrentLookupKey() {
                return Context.getTenantId();
            }
        };
        Map<Object, Object> targetDataSources = new HashMap<>();
        HikariDataSource defaultDataSource = null;
        // 2. Initialize a HikariDataSource for each tenant config
        for (var props : propertiesList) {
            HikariDataSource dataSource = props.initializeDataSourceBuilder().type(HikariDataSource.class).build();
            dataSource.setMinimumIdle(props.getMinimumIdle());
            dataSource.setMaximumPoolSize(props.getMaximumPoolSize());
            for (var tenantId : props.getTenants()) {
                // 3. Supporting multiple tenants using a single database
                log.info("Wiring tenant ID {} to {}", tenantId, props.getUrl());
                targetDataSources.put(tenantId, dataSource);
            }
            if (Objects.isNull(defaultDataSource)) {
                // 4. Set the first datasource as the fallback (used when no tenant is resolved)
                defaultDataSource = dataSource;
                log.info("Default data source is set to: {}", defaultDataSource.getJdbcUrl());
            }
        }
        // 5. Wire up the map into the routing datasource
        routingDataSource.setTargetDataSources(targetDataSources);
        routingDataSource.setDefaultTargetDataSource(defaultDataSource);
        routingDataSource.afterPropertiesSet();
        return routingDataSource;
    }

    // 6. A static factory method - to keep things reusable and clean
    public static DataSource of(List<FaasDataSourceProperties> propertiesList) {
        return new RoutingDataSource().getAbstractRoutingDataSource(propertiesList);
    }
}
This looks compact, but it’s doing a lot of heavy lifting — let’s break it down.
- First, we define the routing data source by overriding
determineCurrentLookupKeyand creating an object - Then, we loop through our list of data source properties and create a
HikariDataSourcefor each one - Next up, we map these data sources against their tenant IDs. Tenants which write to the same database get their individual mappings against the data source.
- We set a default data source as the fallback — this is used in case tenant resolution fails
- Finally, we wire up this map into the routing data source and initialise it
- And last but not least, we wrap it all up in a clean static factory method to expose to the outer world
The only thing left to do is create the data source bean which Spring will use to interact with our databases.
@Configuration
@RequiredArgsConstructor
public class DataSourceConfig {
    @Bean
    @Primary
    public DataSource routingDataSource(DataSourcePropertiesConfig dataSourceConfig) {
        return RoutingDataSource.of(dataSourceConfig.getDataSources());
    }
}
There we go — looks clean! We leverage the DataSourcePropertiesConfig bean we defined earlier, using @RequiredArgsConstructor to ensure it is automatically passed as a constructor argument, and then we call the static factory method we defined earlier to initialise our routing data source. The @Bean annotation tells Spring to use this method to produce a bean, and @Primary ensures that this bean takes the highest priority in case multiple DataSource beans are found.
If you want to go through the code, you can check out my pull request! .
Tales From The Debug Console
If you have been building software for any amount of time, you would know that no real-world implementation comes without its own surprises. This project was no exception. Here are a few quirks, edge cases, and lessons we learnt while building this.
Application Startup
When your application boots up, it creates the data sources and Spring asks for connections from the RoutingDataSource. At this point, Context.getTenantId() will always return null simply because there is no API call in progress - and hence your connections will be routed to the default data source. This was not a problem for us, but it’s something to keep in mind.
Inter-Service API Calls
Since tenant ID is usually resolved during user authentication, service-to-service calls that use a client credentials flow (like client ID + secret) often don’t have a tenant ID available by default. In such cases, we manually resolve the tenant — either from headers, or by mapping the client ID to a tenant in a lightweight lookup before setting it in the context.
The Cold Start Problem
When we create a HikariDataSource using the builder function, the data source object is created but the connection pool is not initialised. This essentially means that whenever the first API call comes in, RoutingDataSource asks for a connection and only then is the connection pool initialised.
Again, this was not a problem for us since the initialisation takes only about ~30ms — but if latency is super important then you might want to call getConnection() on each data source to warm up the data sources and force connection pool initialisation.
Invalid Tenant IDs
If your inbound API call has a invalid tenant ID, the RoutingDataSource will route the call to the default database - this might lead to unintentional data leaks. We solved this by maintaining a list of tenants in the application.properties file, and throwing an exception from our authentication layer if the incoming tenant ID was not present in the list.
Database Migrations
If you are running automated migrations using tools like Flyway or Liquibase — you’re on your own here, because Spring Boot won’t run it for you anymore. We used Flyway, and for our use case the solution was as simple as just calling Flyway.migrate() at the time of data source creation.
Future Considerations
While this setup works well for where we are today, there are a few things we’ll need to think about as we grow.
A connection pool for every tenant
Right now, each tenant has their own connection pool. That gives us nice isolation, but it also means more memory usage. If the number of tenants starts to climb, those idle connections could add up quickly.
Handling more tenants over time
We’re currently initialising all the datasources at startup, which works fine with a small tenant list. But as that list gets longer, it might slow things down or put pressure on system resources. At some point, we’ll probably need to switch to lazy loading or come up with a smarter way to manage pools.
Operational visibility
With multiple datasources in play, it’s easy to lose track of things when you’re deep into the application logs. Down the line, it might help to add tenant-aware logging, metrics, connection pool monitoring, and log correlation — especially for debugging or capacity planning.
None of this is urgent, but it’s the kind of stuff that’s good to keep in the back of your mind — especially if you’re building for scale. We’ve built this to be solid for now, but we’re already thinking about how to keep it flexible for what’s next.
Wrapping Up
This was one of those features that felt daunting at first, but ended up being surprisingly clean once the pieces clicked together. Spring Boot’s flexibility and some careful design choices made it possible to support both shared and isolated tenants without over-engineering the setup.
There’s always more to improve, especially as things scale — but for now, it’s a solid foundation we’re confident building on.
If you’re working on multi-tenancy yourself, I hope this gave you a helpful head start — and maybe saved you a few trips to the debug console!
Note: This article first appeared in the Captainfresh tech blog on 22/07/2025.